Assisted Review
Assisted Review enables you to use Artificial Intelligence to search for relevant documents.
By starting with a set of documents about a specific topic, a search query, or a set of
relevant documents, the computer will search for documents that have similar contents.
All you have to do is review the documents, to teach the computer which documents are relevant or not.
|
|
Note: Assisted Review can also be used check if you might have missed evidence once you conclude your investigation. By starting Assisted Review using the documents that contain evidence, the computer will search for documents similar to those. This way, you can check if all relevant documents in the dataset have been found. |

Prerequisites
- Create a saved search for the data you want to include in the Assisted Review project.
- Create more saved searches for potential responsive documents within the project. These additional saved searches are used to populate one or more issues in the project.
Instructions
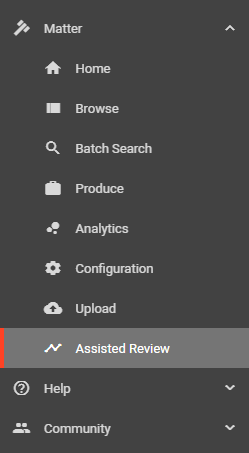
- In the navigation panel of ZyLAB ONE, select Assisted Review.

-
Select
+ Add Project
(or, when other projects have been created already, select
 and then select
+ Add Project).
and then select
+ Add Project).
-
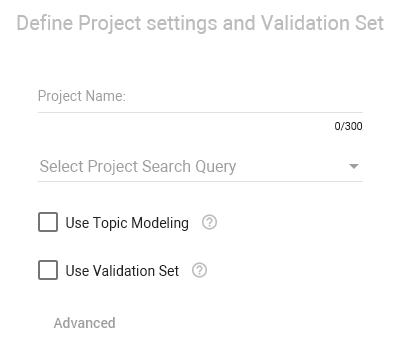
Define the Project Settings.
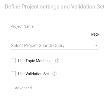
- Define a Project Name.
-
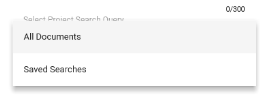
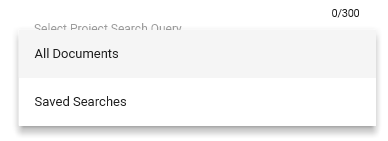
Select the arrow next to Select Project Search Query, click Saved Searches and select the Saved Search for the data to include in this project.
- Click Create.
-
Define one or more issues.
- Select + Add Issue.
- Define the Issue Name and add a Description.
-
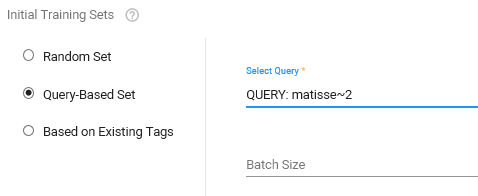
Create the Initial Training Set of the issue based on a query (the saved search(es) for potential responsive documents in the project).

- Define the Batch Size. For example, 200 documents (depending on data and resources).
-
Click Save.
Repeat to add more issues.
- Click Next.
- Review the project summary and click the Start Project button.
- The classification process will be started. The progress can be viewed in the Assisted Review Progress tab.
Assisted review with a set of tagged documents
You can also start Assisted Review with a set of tagged documents. This is possible by creating specific tags in Configuration (ie. ‘Fraud_R’, for relevant documents, and ‘Fraud_NR’, for non-relevant documents).
Search for relevant documents in the data set. If you’ve found multiple relevant documents of similar contents, you can tag them with Fraud_R. Tag non-relevant documents with Fraud_NR.
Create two saved searches for both tags, by creating a query that only includes the tags. Then repeat the same steps listed above and select both queries in step 4.