Step 1: Add and Start a Project
Prerequisites
- Create a saved search for the data you want to include in the Assisted Review project.
- Create more saved searches for potential responsive documents within the project. These additional saved searches are used to populate one or more issues in the project.
Instructions
-
From the navigation tree, select Assisted Review.

-
Select
+ Add Project
(or, when other projects have been created already, select
 and then select
+ Add Project)
and then select
+ Add Project)
-
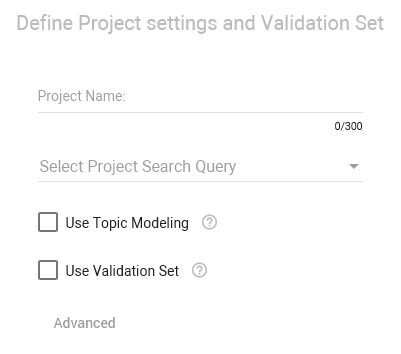
Define the Project Settings.
- Define a Project Name.
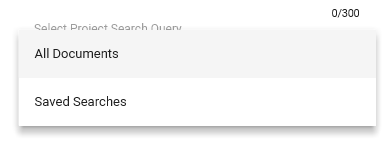
-
Select the arrow next to Select Project Search Query, click Saved Searches and select the Saved Search for the data to include in this project.

- Click Create.
-
Define one or more issues.
- Select + Add Issue.
- Define the Issue Name and add a Description.
-
Create the Initial Training Set of the issue based on a query (the saved search(es) for potential responsive documents in the project).
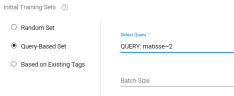
- Define the Batch Size. For example, 200 documents (depending on data and resources).
- Click Save. Repeat to add more issues.
- Click Next.
- Review the project summary and click Start Project.
- The classification process will start. Progress can be viewed in the Assisted Review Progress tab.